
How to Start a Shopify Store in 8 Steps
So you want to start a Shopify store but don’t have the knowledge or expertise to begin your e-commerce journey. It’s an exciting yet nerve-wracking proposition, as starting an online business is a daunting task for most people.
But don’t let the nerves get to you! Take this as a sign that your dream of running a Shopify store will soon become a reality. You probably know what products you want to sell and how you want to set up your store. But the question is, how do you put it all together?
In this article, we’ll discuss the basics of starting a Shopify store so that you can get the ball rolling and start selling your products!
Step 1: Create a Shopify account
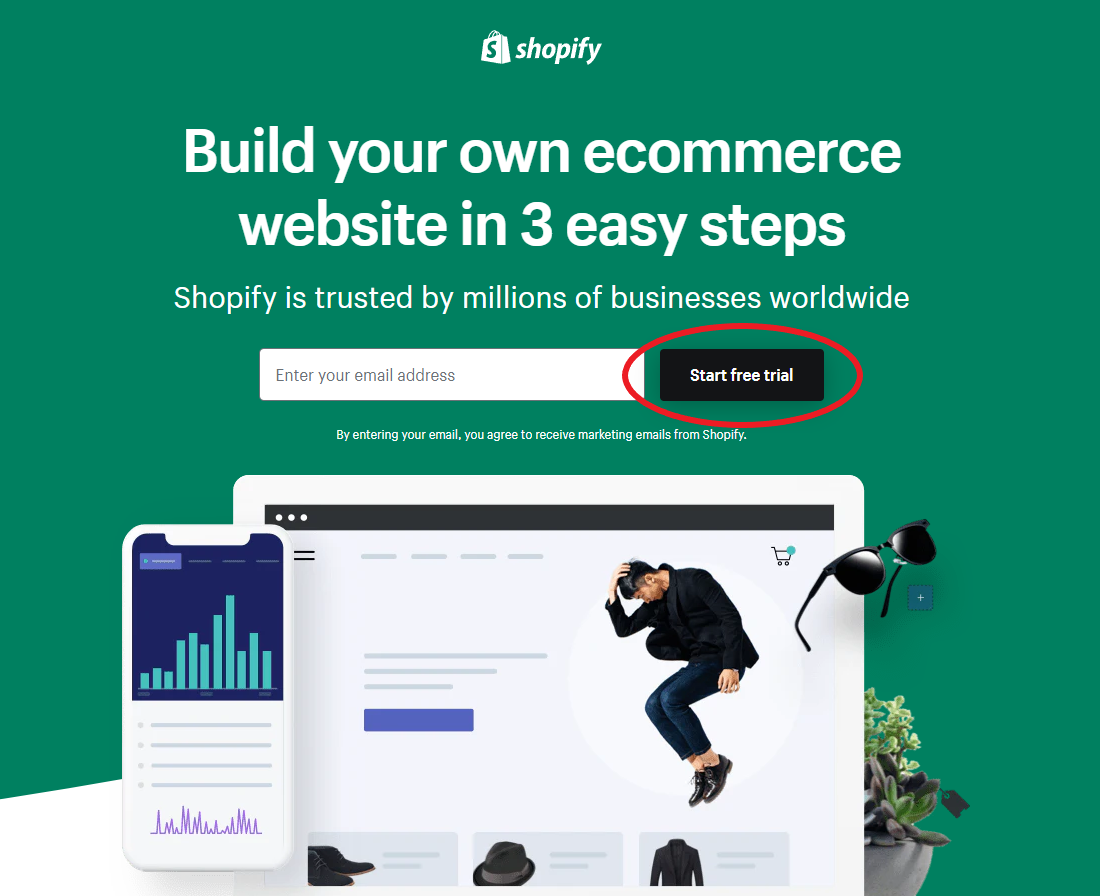
Visit the Shopify website and signup by clicking the “Start free trial” button. You’ll begin with a trial account for three days and after that a 3-month subscription that’s worth $1 a month. Once you proceed, you’ll be greeted with a series of questions like where you would like to sell and what products you plan on selling.
From there, you’ll be prompted to enter your business name and where it’s located. This step is the most important as your shop’s name will determine how customers will find you online. Continue filling out the signup process, and now you’ve taken the first step in creating your dream Shopify store!
Step 2: Add your first product
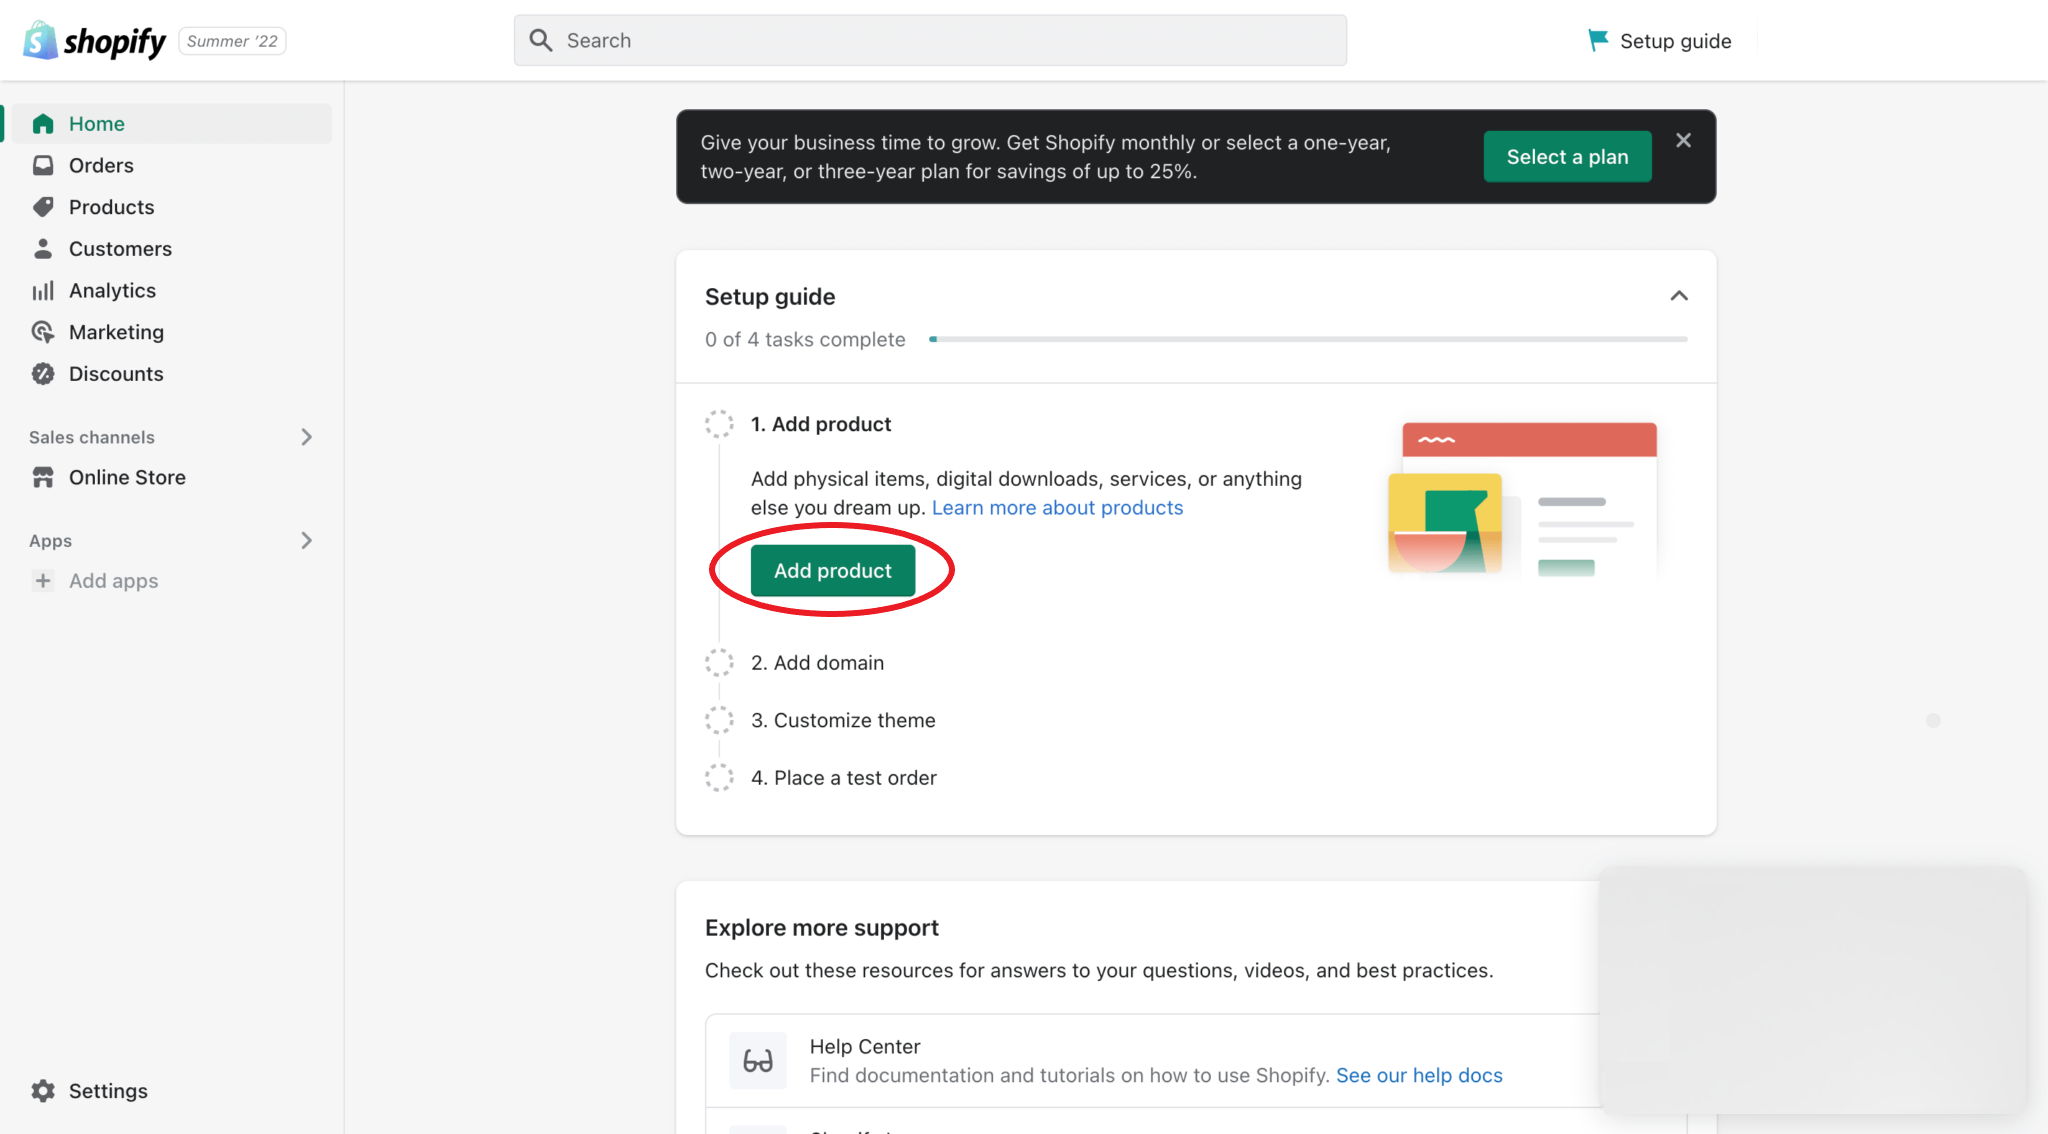
After completing the signup process, you’ll arrive at the admin panel where an “Add Product” button will show up. Click on the button to add your first product. Enter the item’s title, price, description, and media. You can always refer to Shopify’s learning center to guide you on product listings, search engine optimization, and other key aspects of starting your online store.
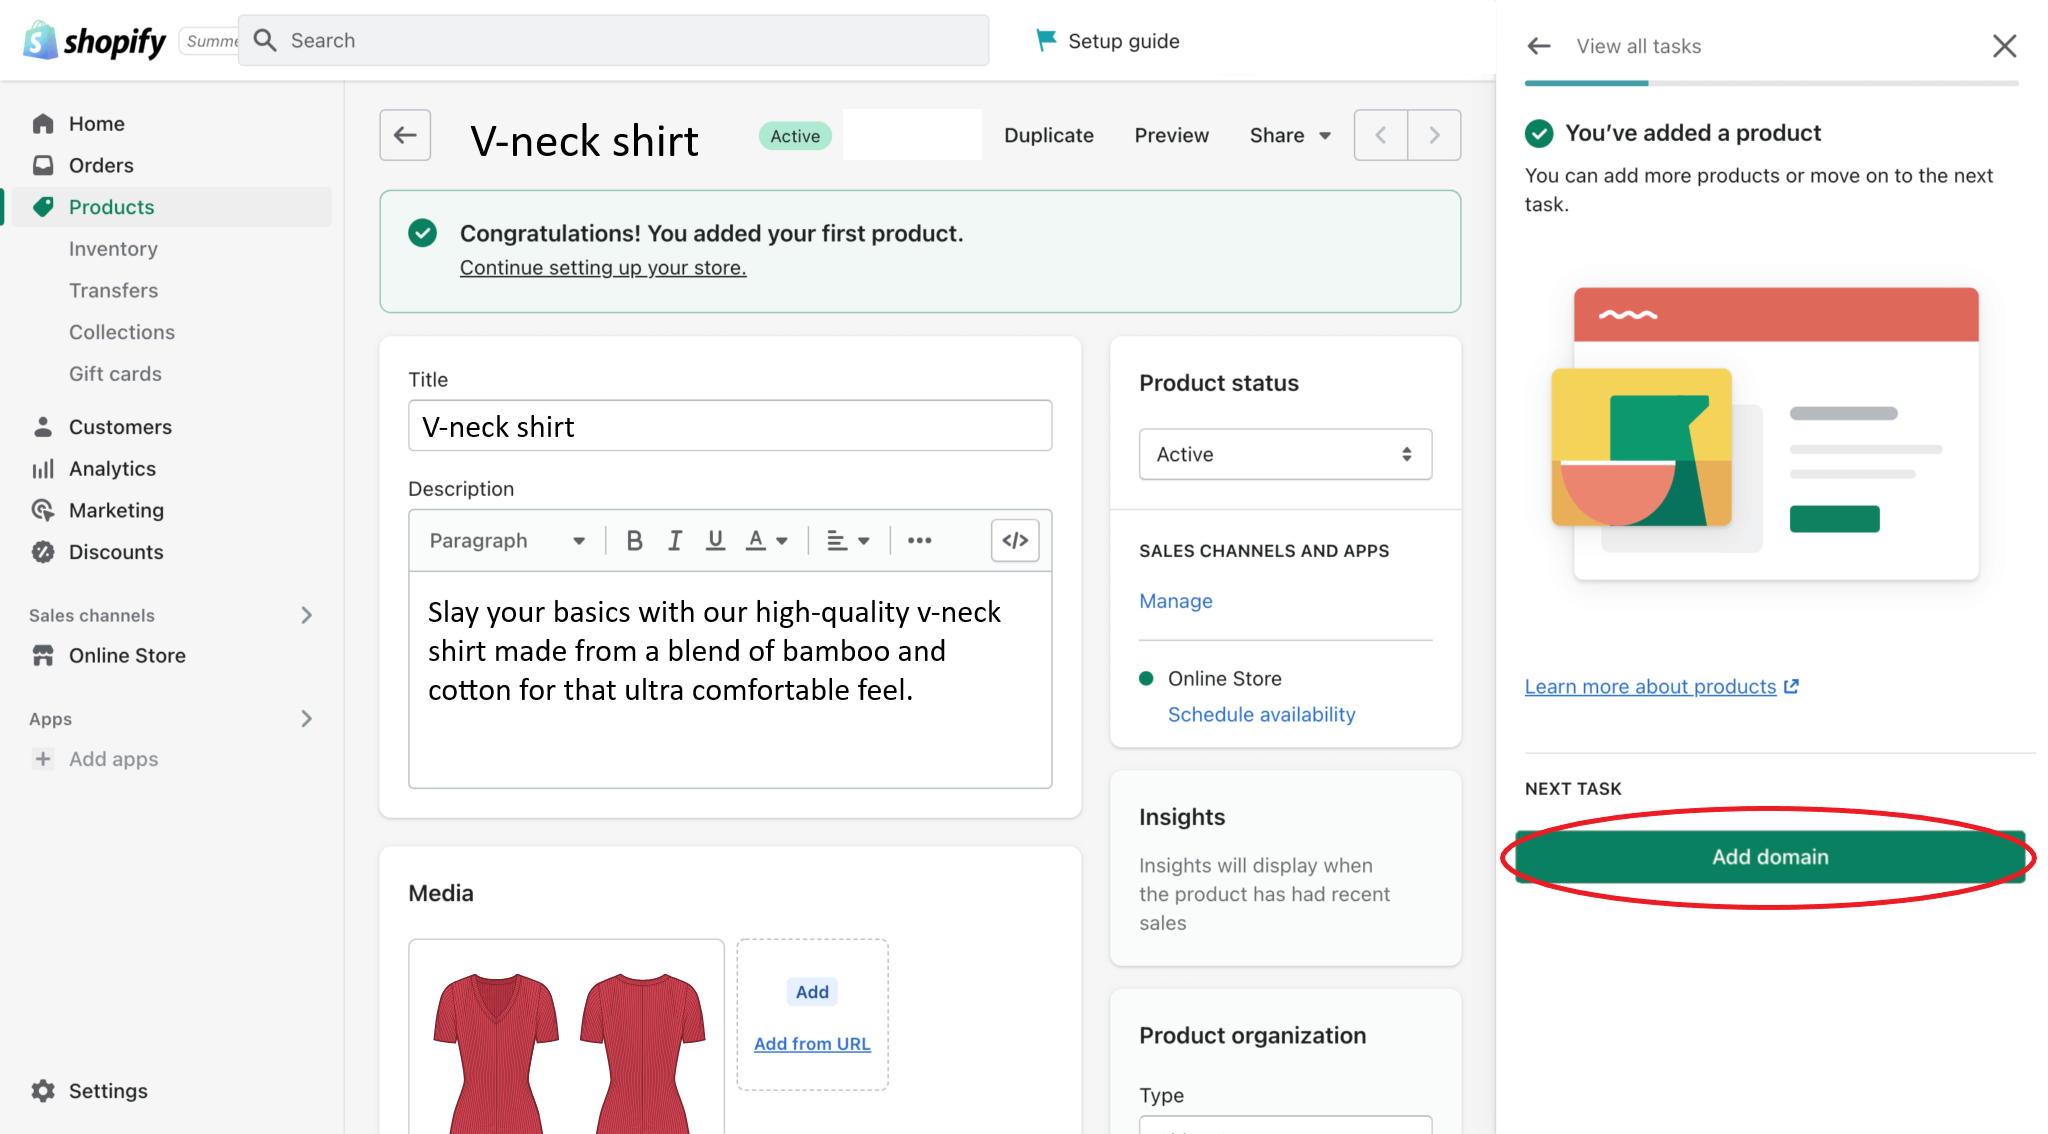
Double-check the information on your product, and once they’re all correct, click on the “Save” button at the top-right section of the admin panel. Congratulations, your product is now live in your store!
Step 3: Choose a domain name for your store
The next step in setting up your Shopify store is to choose a domain name. A domain name is your website’s unique address online, and you want to make sure you use a domain name that best represents your brand. You can click on the “Add Domain” button on the right side of the panel after you add your products, and Shopify will guide you through the process.
Shopify gives first-time users a default domain name, but to ensure consistency across your brand, you want to secure a custom domain name for better brand recognition. You’ll find plenty of reliable website hosts here in our blog where you can book a domain name from a third-party provider and connect it to your Shopify store.
Step 4: Set up your store’s theme
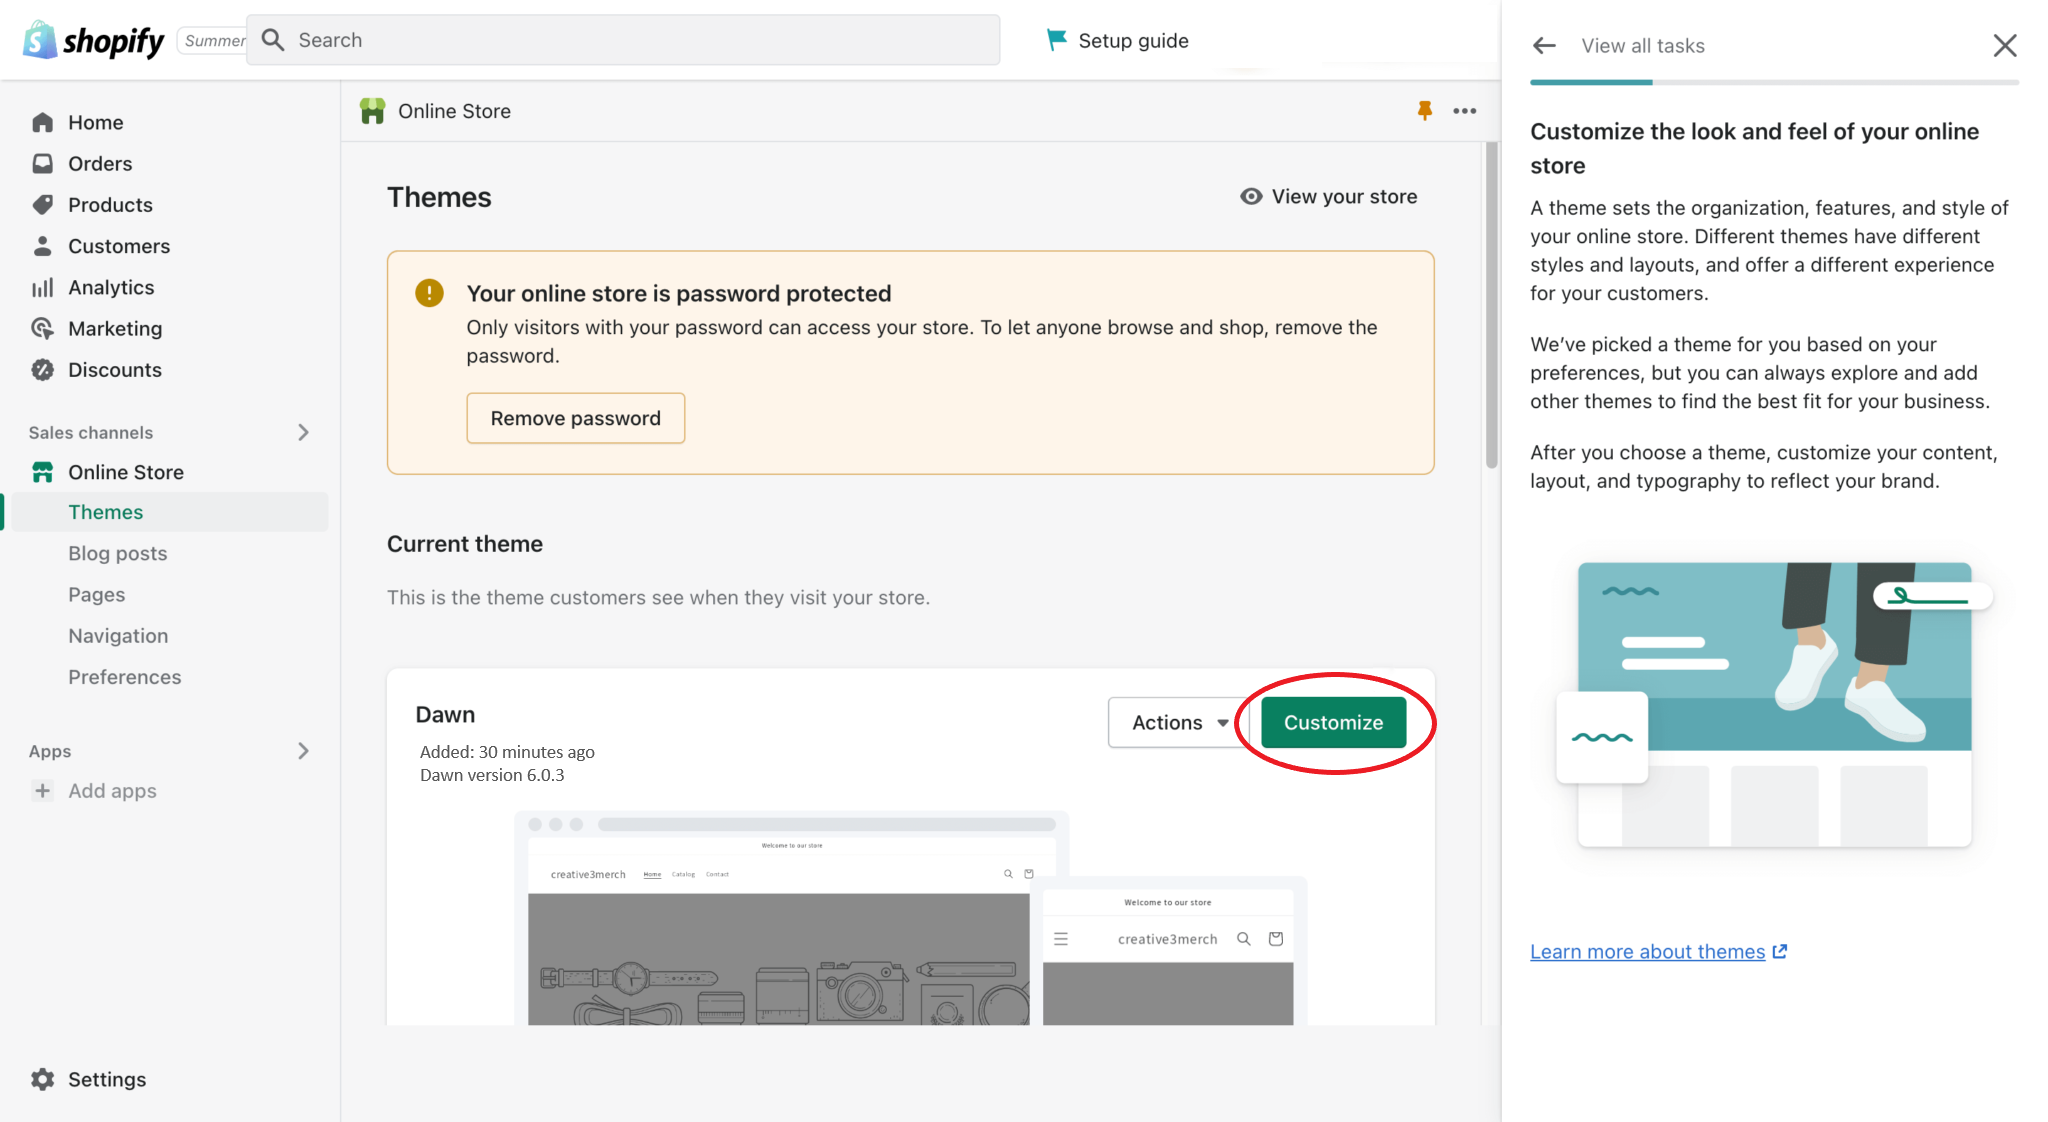
The great thing about Shopify is the customizability of its themes, making it easy to achieve the look and feel you want for your store. You can set up your store’s theme by clicking on the “Online Store” section on the left side of the admin panel and clicking “Themes” and “Customize”.
There are plenty of themes available for first-time users, and you can tinker around with them to find one that suits your needs/preferences. When choosing a theme, you want it to be responsive and easy to navigate to ensure a positive UI experience for your customers.
Step 5: Set up your store’s shipping options
Getting the product to your customers on time is vital to doing business, and thankfully, Shopify has built-in shipping support to help store owners deliver their products. Shopify Shipping partners with leading carriers in the United States like DHL and UPs to provide you with discounted rates and flexible shipping solutions.

Shopify’s shipping services let you buy shipping labels directly and print multiple labels simultaneously, eliminating most of the common problems store owners face when setting up their shipping and delivery.
Best of all, Shopify Shipping simplifies your day-to-day orders by managing them all in one place, allowing you to fulfill orders faster and manage your inventory from top to bottom. Refer to Shopify’s website for more information about their shipping services.
Step 6: Set up your store’s payments
Now that you have your shipping and delivery solved, the next logical step is to set up the payments for your store. You have the option of using third-party providers or using Shopify Payments, the platform’s in-house solution for handling your payment needs.
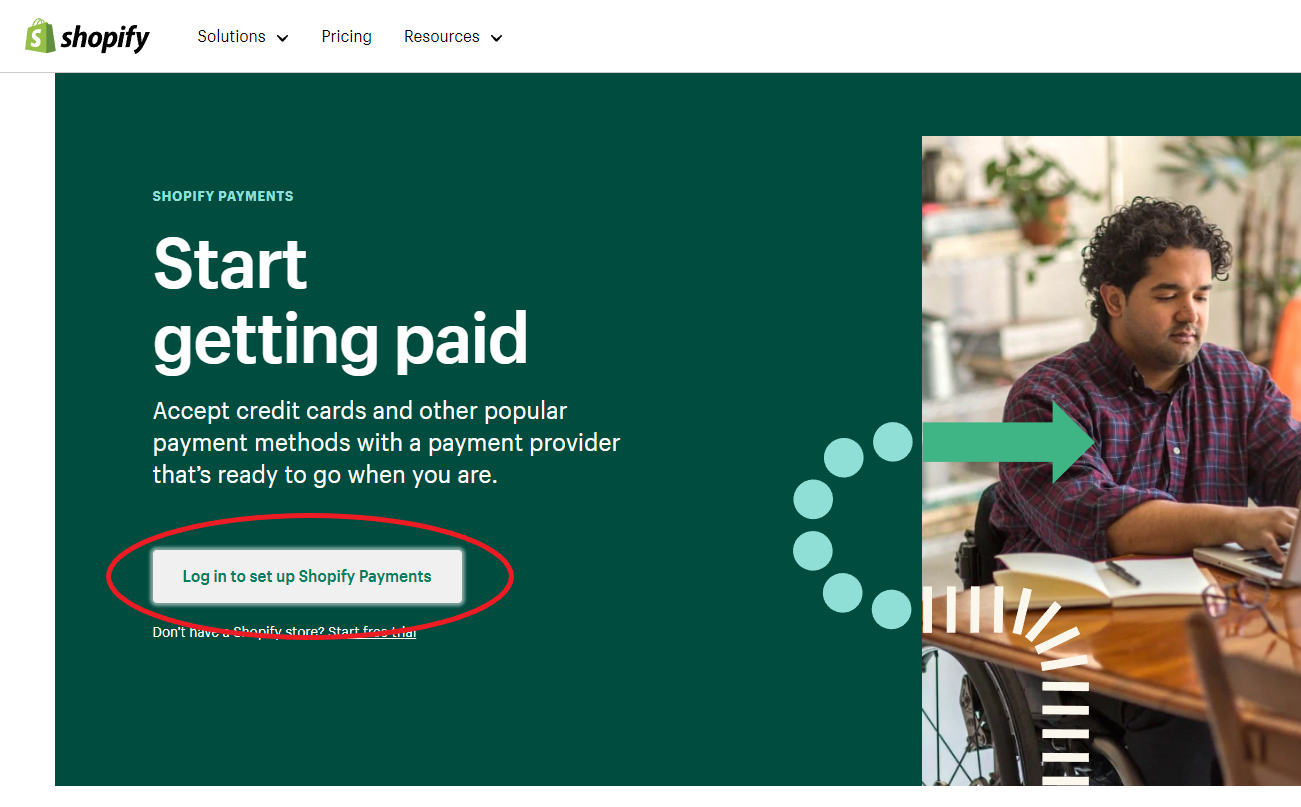
We highly recommend starting with Shopify Payments as it simplifies the whole payment process. Shopify Payments lets you accept debit and credit cards, Google Pay, Apple Pay, and other payment methods. The added flexibility is a must in this day and age where consumers prefer multiple payment options for convenience.
While it’s not a requirement to use Shopify Payments, their in-house service doesn’t charge the 2.2 percent transaction fee like most third-party payment solutions. The added savings helps lower your running costs which is beneficial for first-time store owners. Visit this link to learn more about Shopify Payments.
Step 7: Test your online store
Your products are live, your store is looking beautiful, and you’re ready to accept payments. But before you launch your store, you want to test it out first and view it from a consumer perspective. Are your product descriptions detailed and accurate? Is your theme simple and easy to navigate?
Double-checking the look and feel of your store is crucial to its success, as any errors will make a lasting impression on your potential customers. Place a test order and get a feel for the entire process. The simulated transaction gives you real-world experience on how customers interact with your store. You want to check that the pricing, shipping, and order details are correct before you put your store out there.
Once you place a test order, you’ll be taken to Shopify’s Bogus Gateway where you’ll enter a transaction like a regular customer, but you won’t be charged with any payments. You can visit Shopify’s link for test orders to learn more.
Step 8: Launch your store
Once you feel confident with the overall experience of your online store, the last step is to launch your store and get people to buy your products! To do this, you’ll need to choose the appropriate plan for your business. Shopify offers three monthly plans and these are Basic, Shopify, and Advanced.
Most first-time owners will find that a Basic plan will suit their needs just fine, so we recommend sticking to this plan when starting your business. You can always upgrade to a higher plan as you scale your online store. Take a look at the pricing below and see what each plan offers:
After choosing your plan, you want to remove the password of your online store to let customers browse your products. From the admin panel, click the “Online Store” at the left section and click “Remove Password”.
Now you’re all set and ready to take the e-commerce world by storm! Keep in mind that these steps are only the basics of starting a Shopify store, as there are a lot of intricacies that go with running an online business. We recommend doing in-depth research to ensure you follow the best practices that will enable you to scale your business and find the right customers for your store.
Conclusion
Starting a Shopify Store isn’t as difficult as most people think. In fact, it’s much easier thanks to the platform’s in-built features that support first-time owners in helping to set up their store. By following these steps, you can start selling your favorite products and owning an online business!
Does your business need help with sorting out its financial records? If so, our team of expert bookkeepers is ready to assist you! Feel free to fill out the form below, and we’ll get in touch with you as soon as possible.


